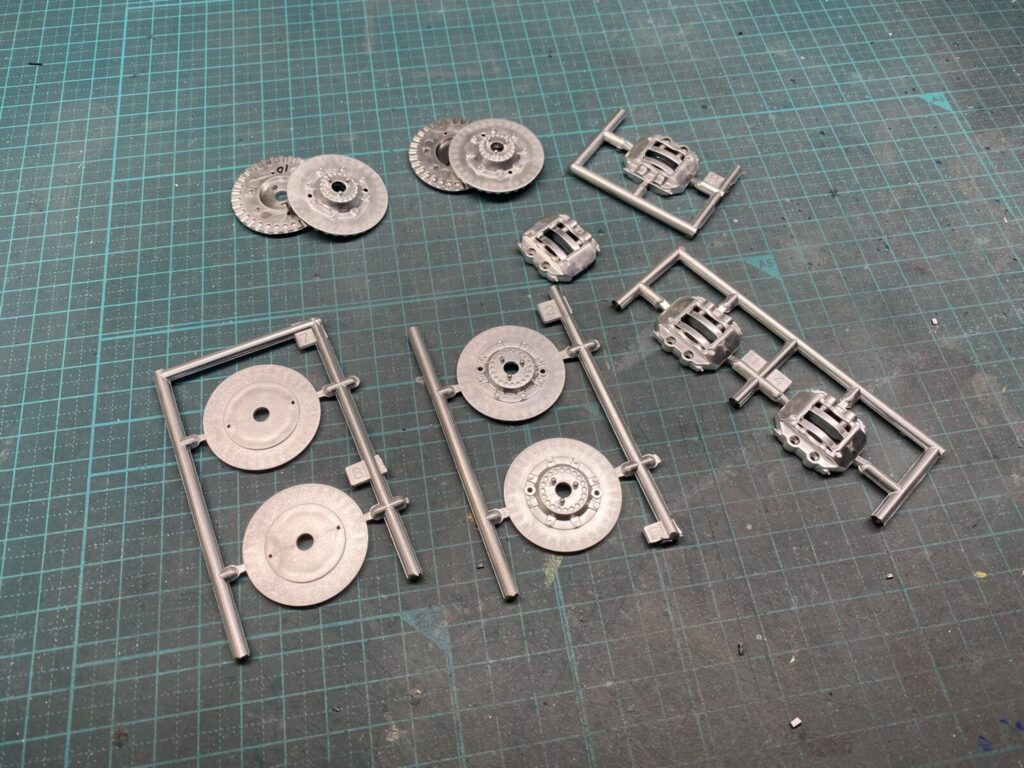
ブレーキディスクやキャリパーにもメッキ処理が施されていますが、整形や改修を行う必要があるため、まずはメッキをすべて剥離していきます。
The brake discs and calipers are also chrome-plated, but since reshaping and modifications are required, the first step is to completely strip away the chrome plating.
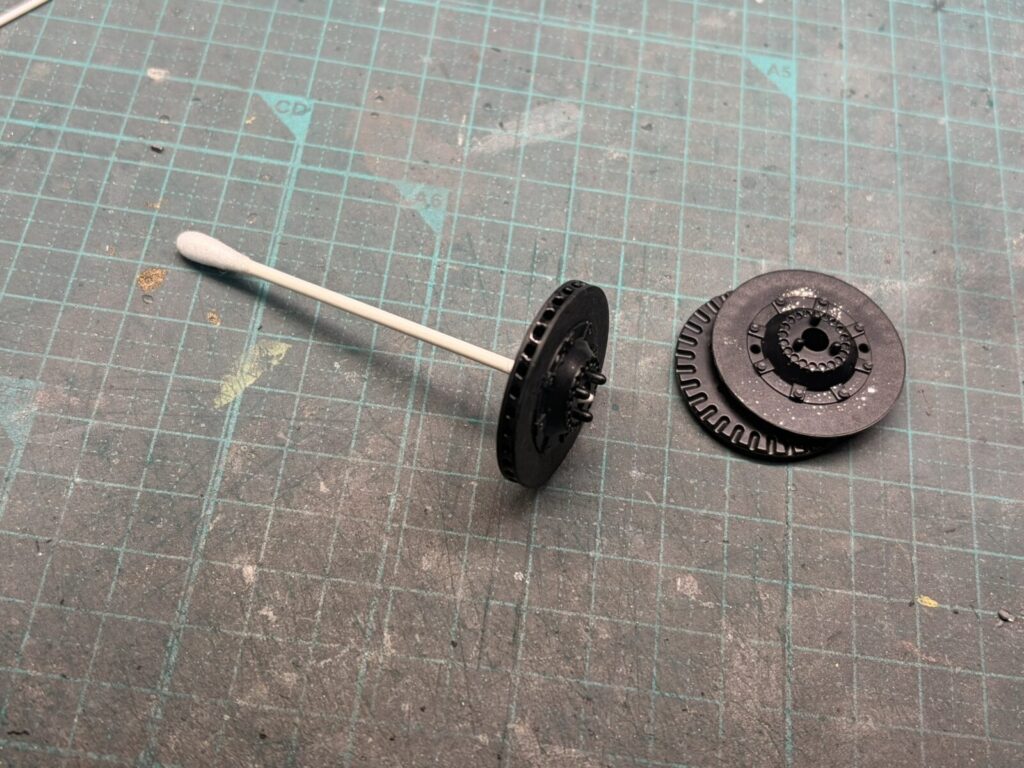
ブレーキディスクもビスで組み立てる構造になっていますが、完成後もビスが目立ってしまい、実車とは異なる印象になってしまいます。
そこで組立方法を変更し、不要となるビス穴も塞いで、より実車に近い仕上がりを目指します。
The brake discs are also designed to be assembled with screws, but the screws remain clearly visible after assembly, detracting from the realism of the finished model.
Therefore, the assembly method will be modified, and the unnecessary screw holes will also be filled to achieve a more realistic appearance.
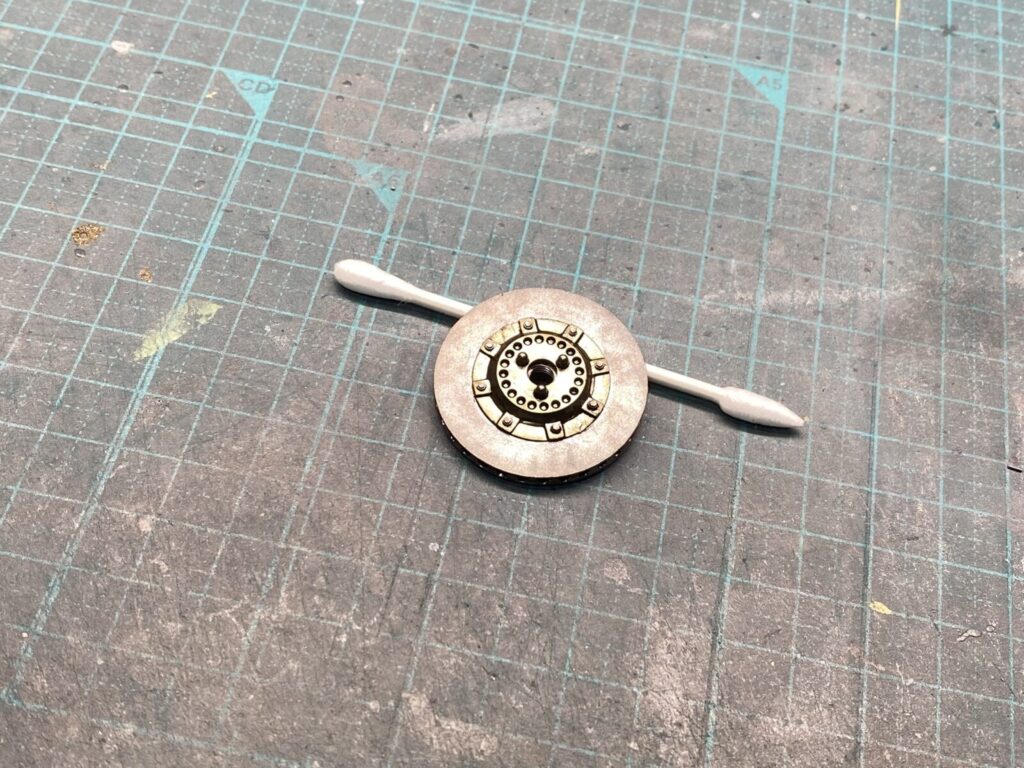
ブレーキディスクを塗装し、中心部には3Dプリンターで自作したナットを追加します。
The brake discs are painted, and custom-made nuts produced with a 3D printer are added to the center.
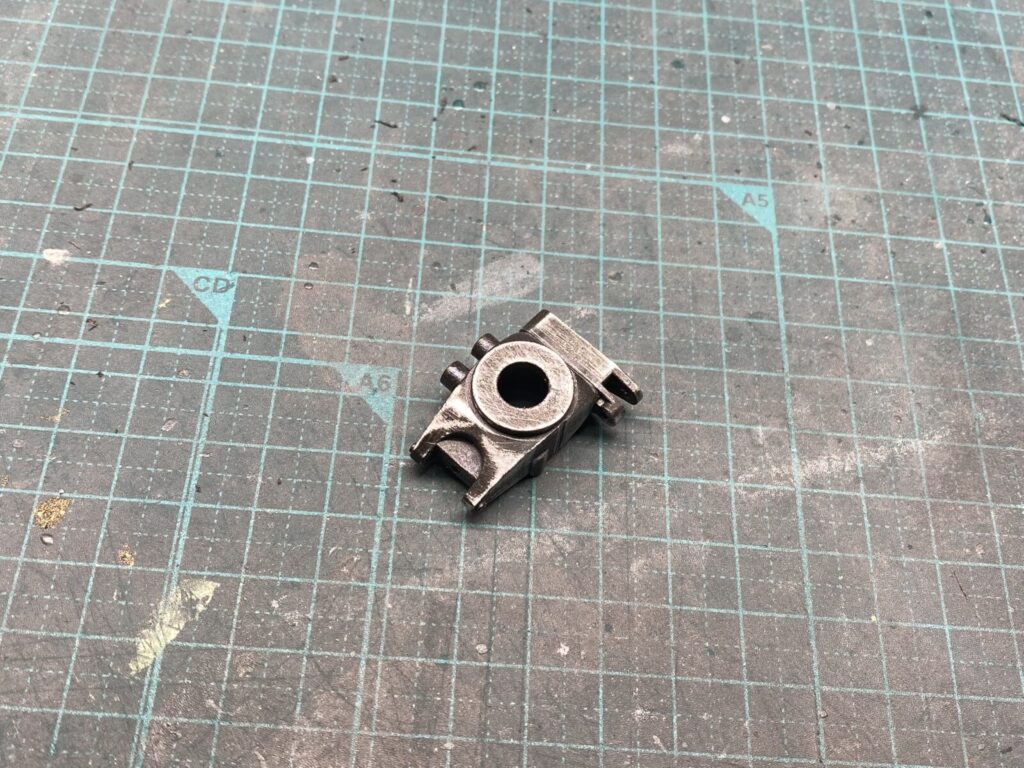
アップライトは金属製のパーツで、キットでは黒色に塗装されていますが、バリやパーティングラインなどの整形が必要なため、こちらも一度塗装を剥離します。
The uprights are made of metal and come pre-painted in black. However, since reshaping is required to remove mold flash and parting lines, the original paint will also be stripped away.
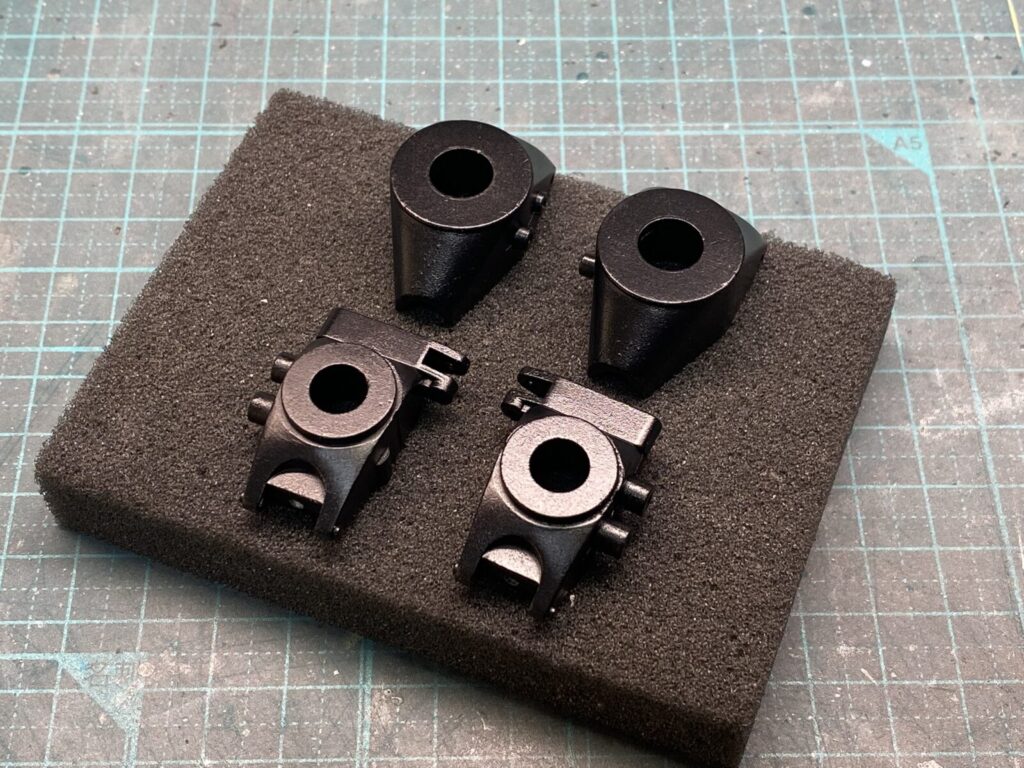
整形を行った後、下地処理を施してから塗装を行います。
After reshaping the parts, they are properly prepared before being painted.
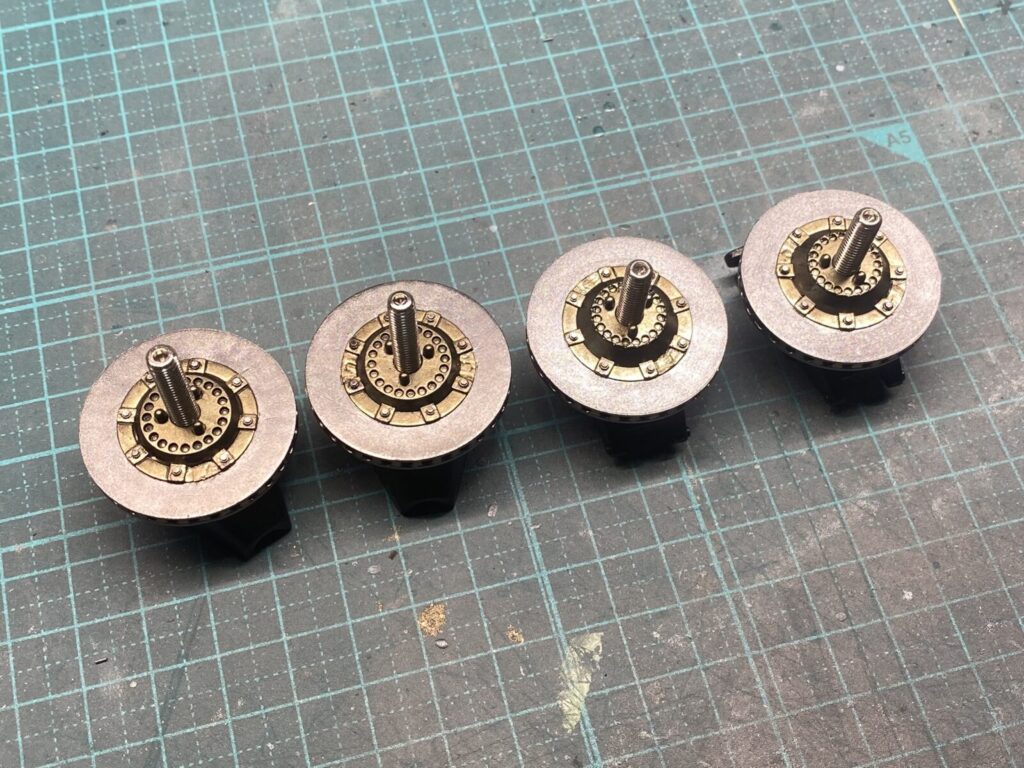
アップライトとブレーキディスクを組み立てていきます。
The uprights and brake discs are now assembled.
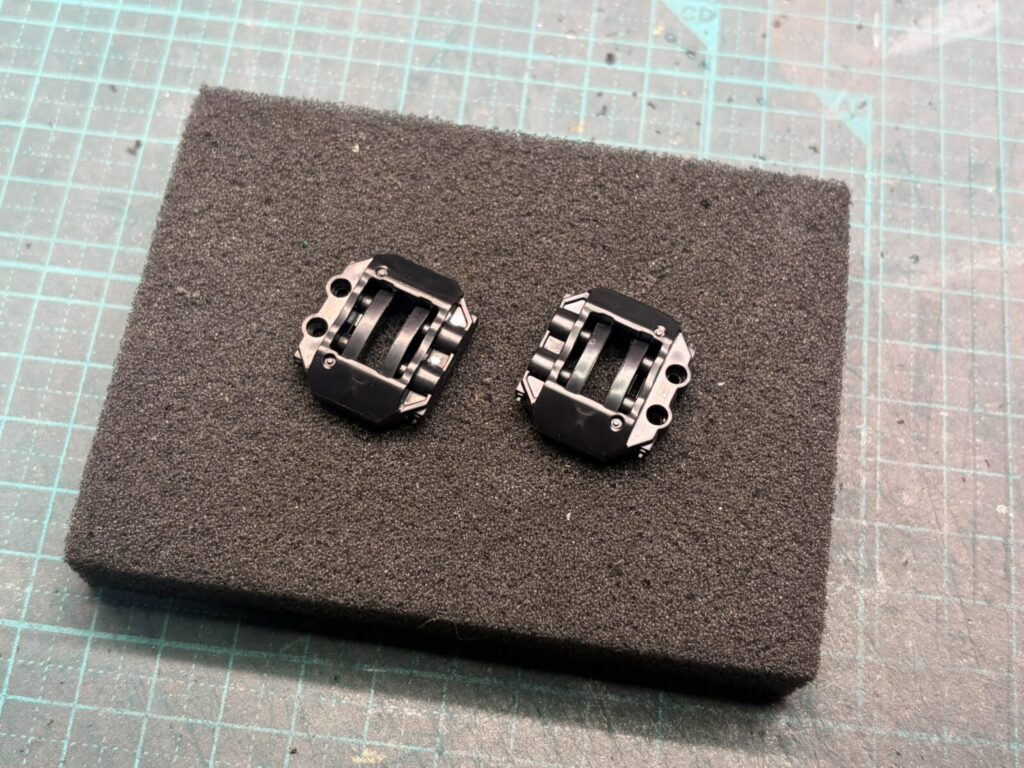
ブレーキキャリパーもメッキを剥離し、各部の整形を行います。
The chrome plating is also stripped from the brake calipers, followed by careful reshaping of the parts.
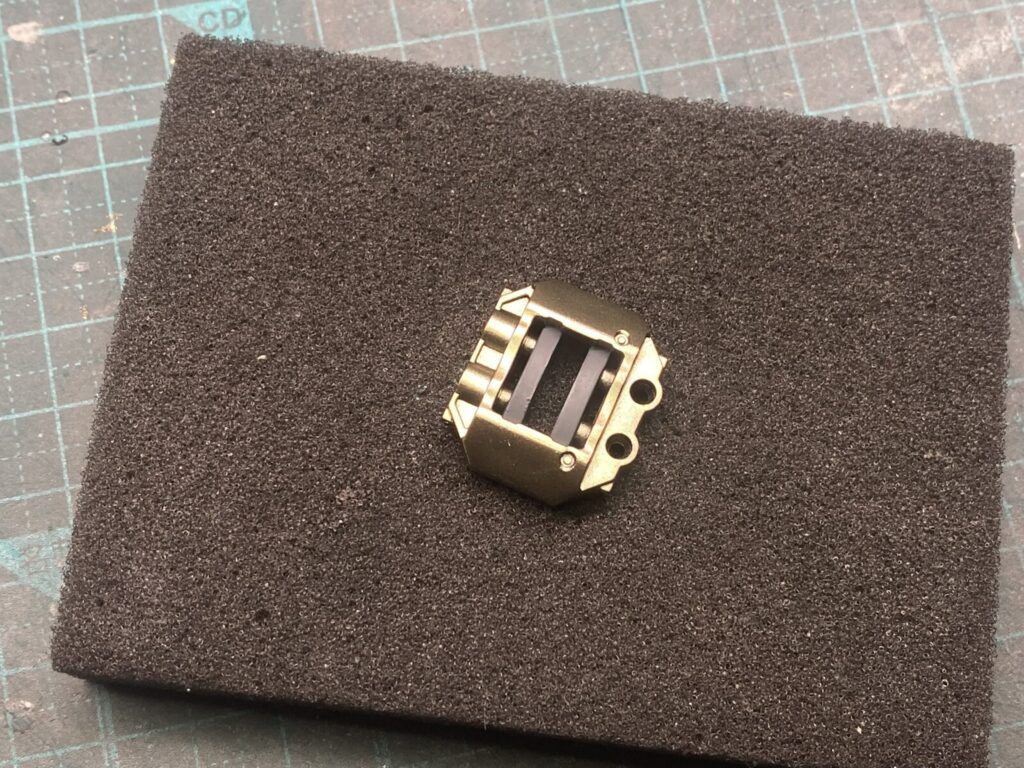
その後、下地処理を行い、塗装を施します。
The parts are then properly prepared and painted.
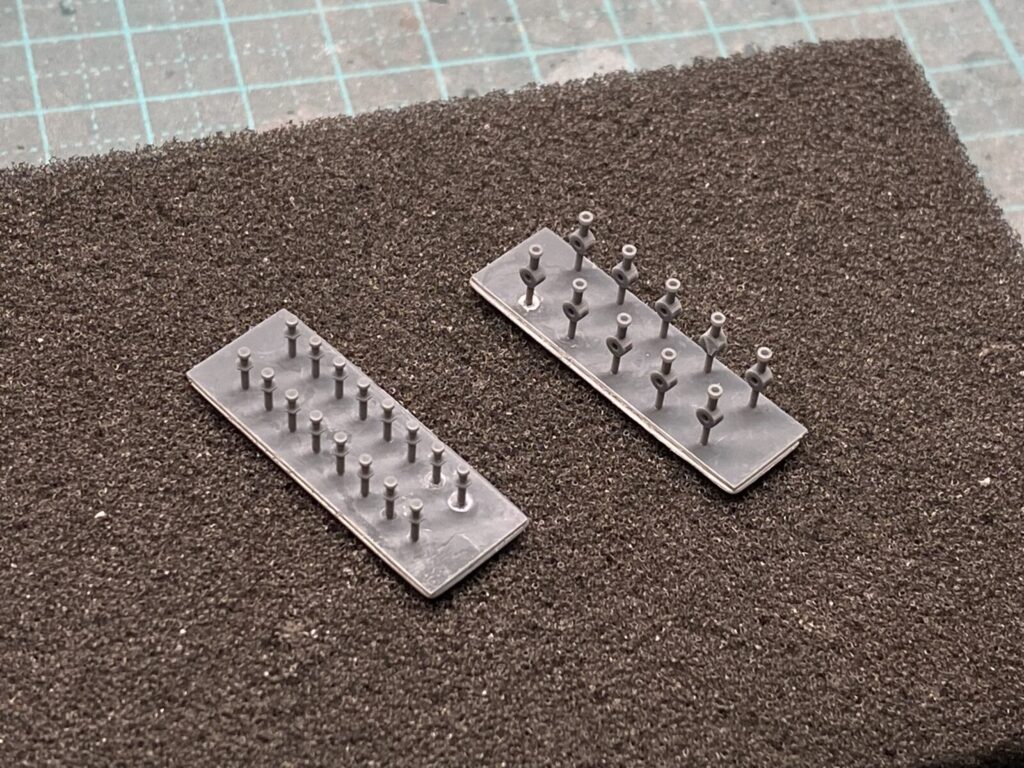
3D CADでキャリパーブリーダーやブレーキホースの接続パーツを設計し、3Dプリンターで自作します。
The caliper bleeder screws and brake hose fittings are designed using 3D CAD and then fabricated with a 3D printer.
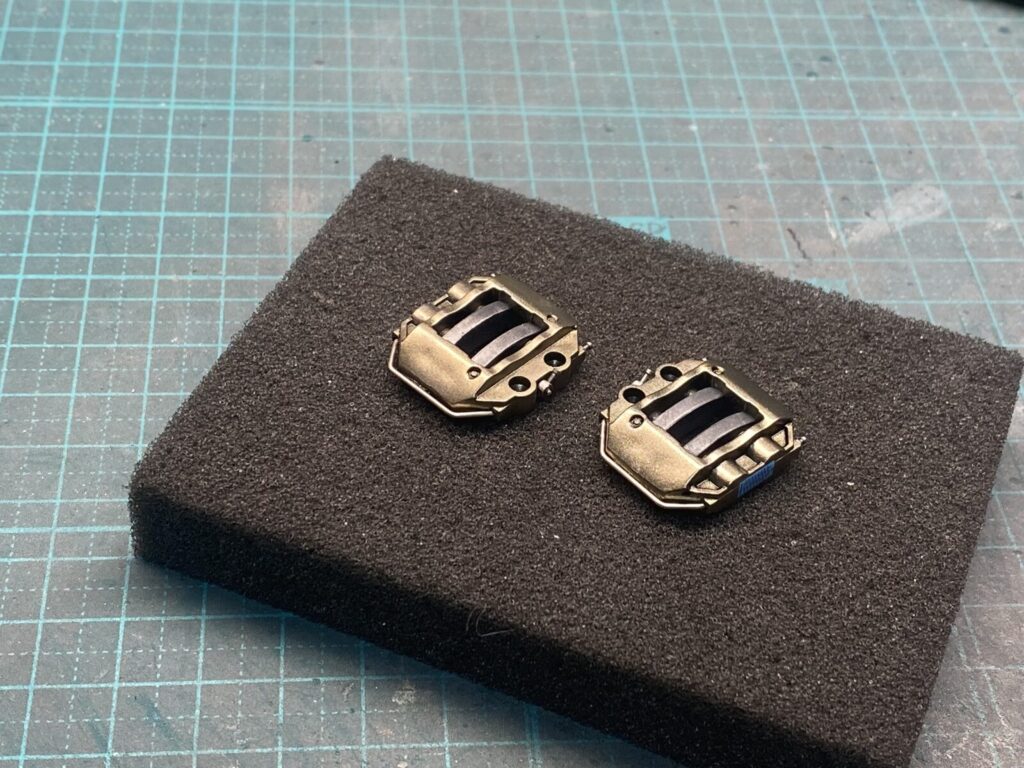
自作したキャリパーブリーダーやブレーキホースの接続パーツを取り付けます。
さらにウェザリングを施し、実車の使用感を意識した質感に仕上げていきます。
The scratch-built caliper bleeder screws and brake hose fittings are installed.
Weathering is then applied to enhance the surface texture and reproduce the used appearance of the real components.
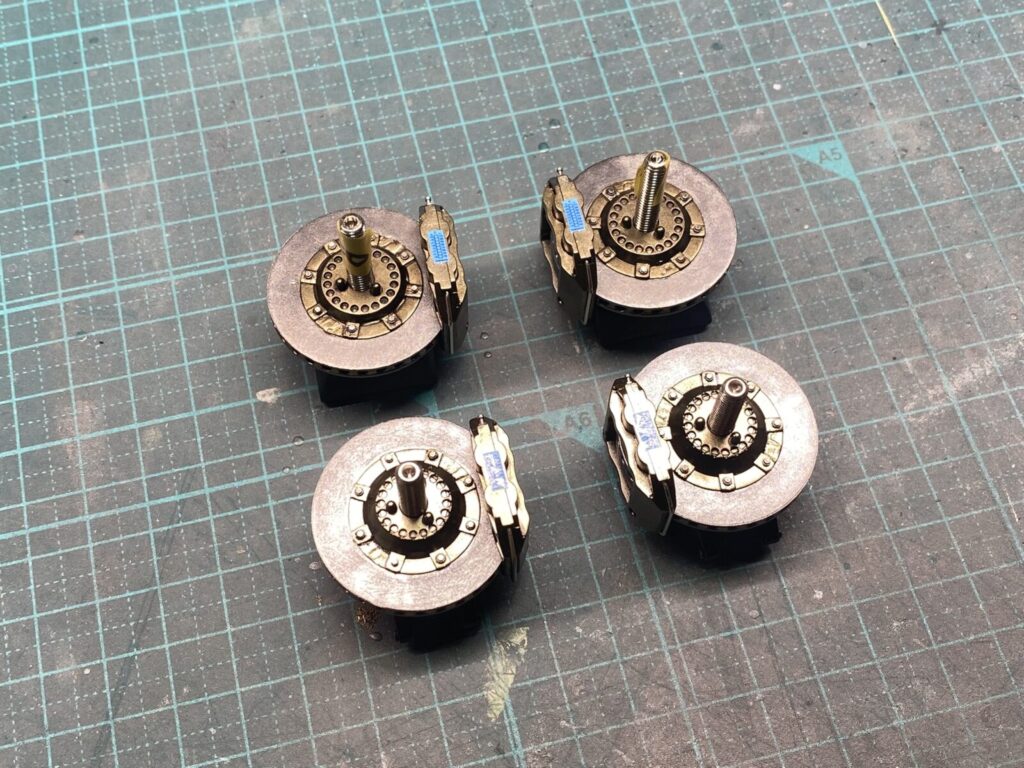
完成したブレーキキャリパーを取り付けていきます。
The completed brake calipers are now installed.